Blog
-
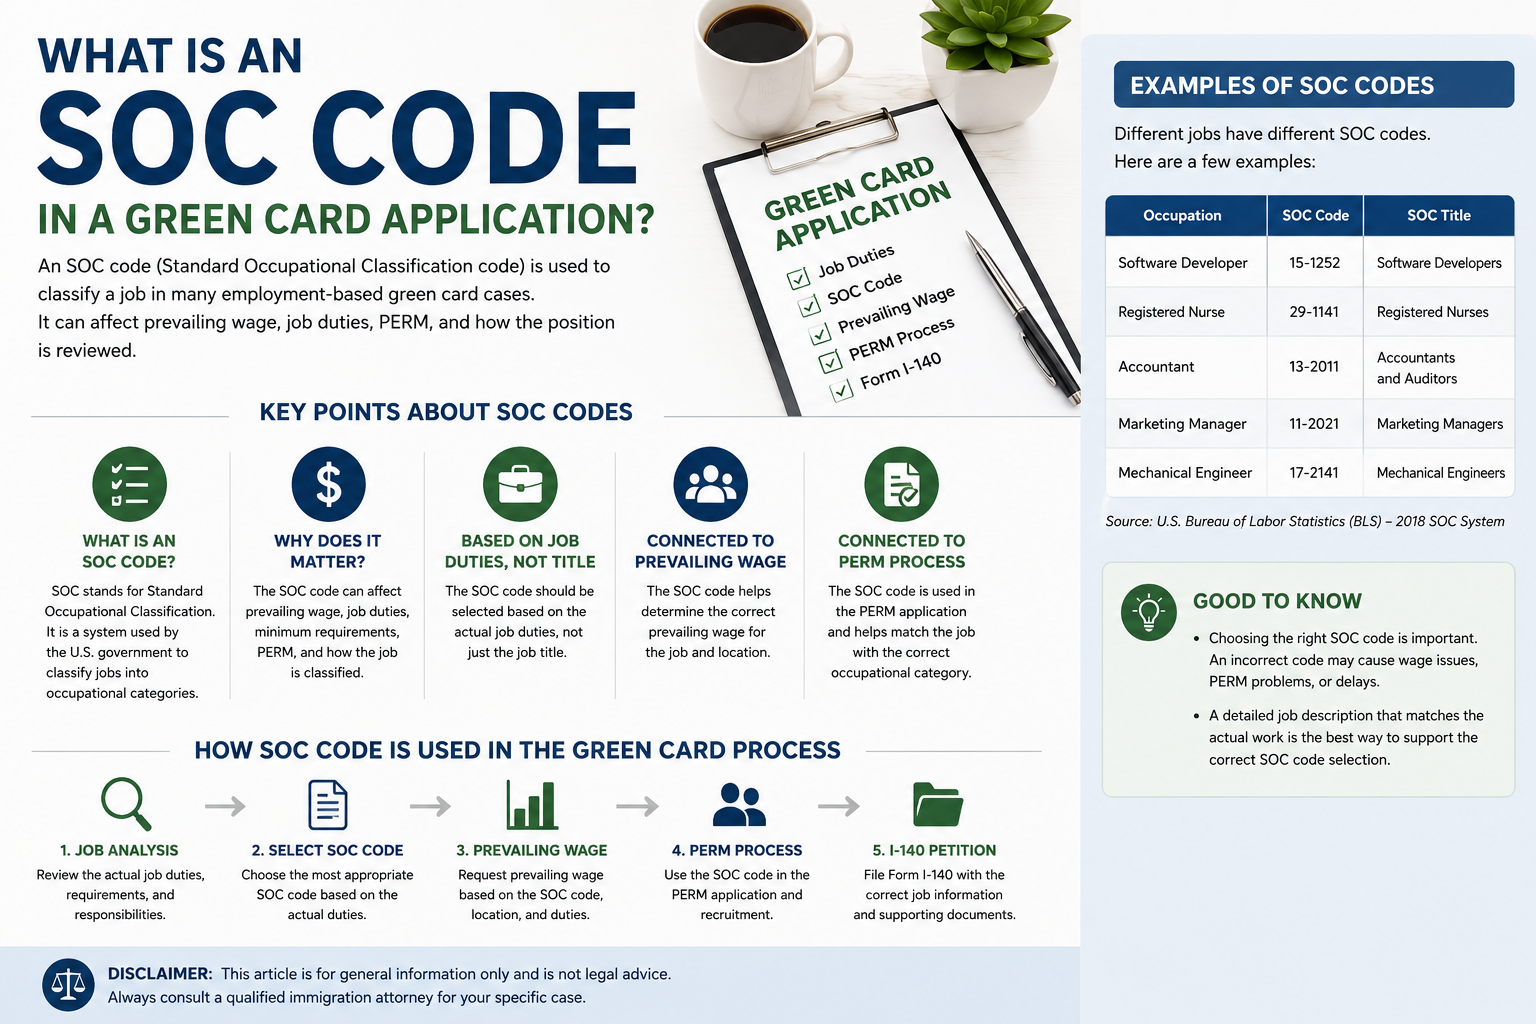
What Is an SOC Code in a Green Card Application?
An SOC code is used to classify a job in many employment-based green card cases. This guide explains what an SOC code is, why it matters for prevailing wage and PERM, and why job duties are more important than the job title alone.
-

What Does an Employer Need to Sponsor a Green Card?
Many workers wonder whether their employer can sponsor them for a green card. This guide explains the basic employer requirements, including a real job offer, ability to pay the wage, PERM, job duties, and company documents.
-
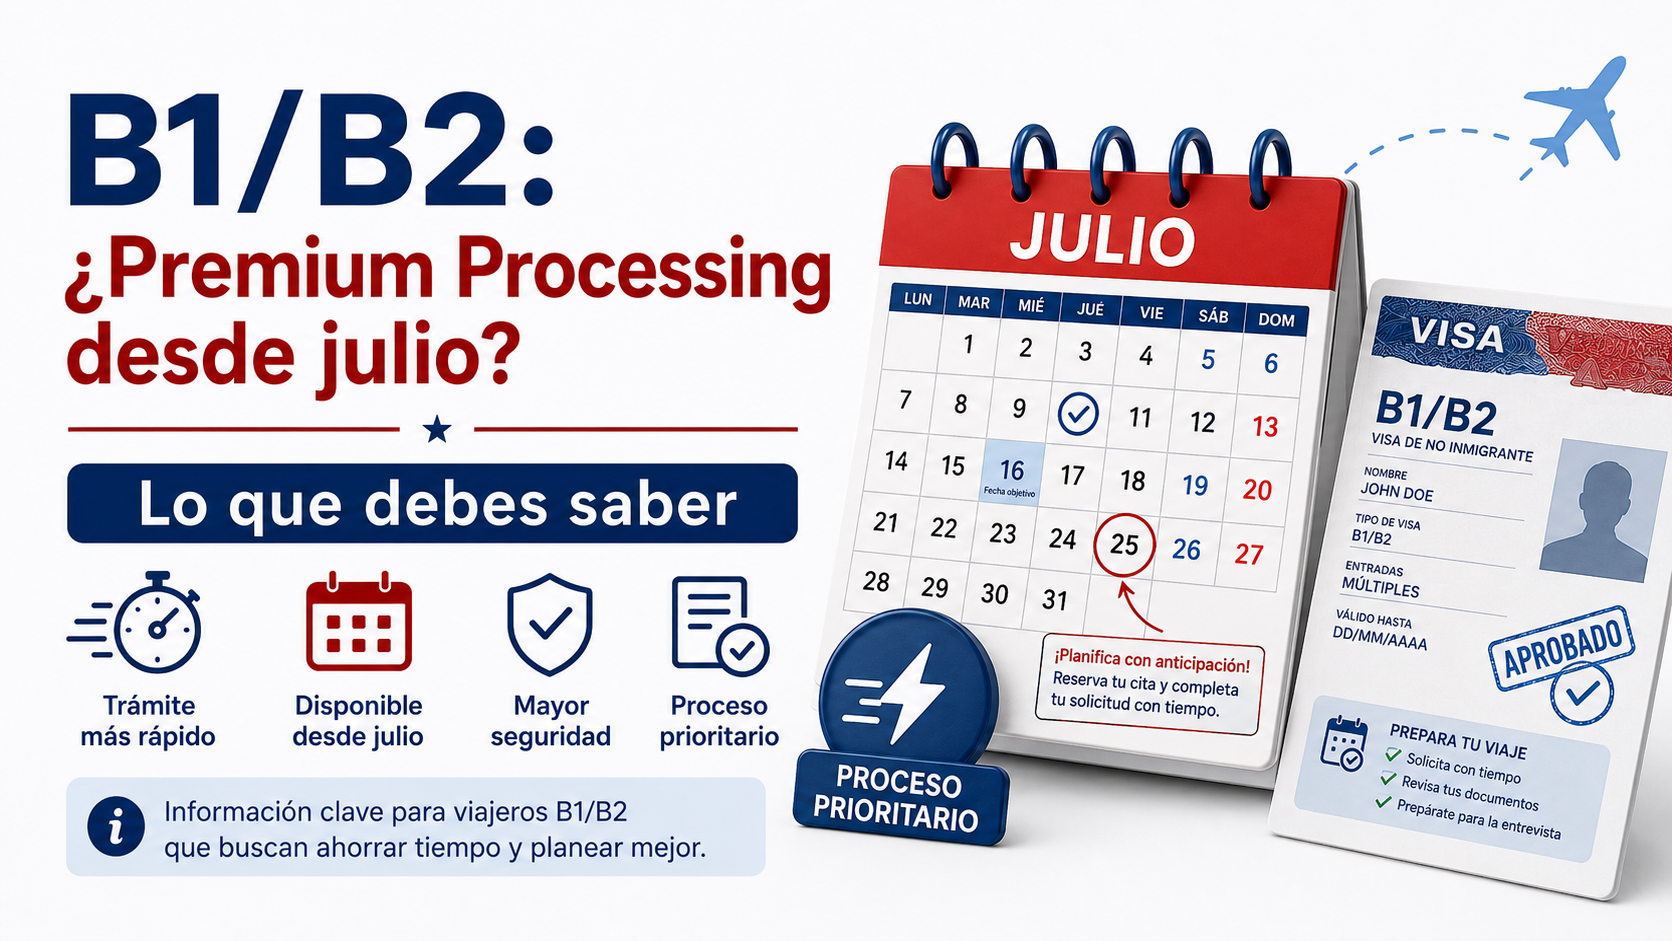
Nueva opción de $750 para una entrevista B1/B2 más rápida: lo que deben saber los solicitantes
Una nueva opción reportada de $750 podría permitir que ciertos solicitantes de visa B1/B2 obtengan una entrevista más rápida, pero no garantiza la aprobación de la visa.
-
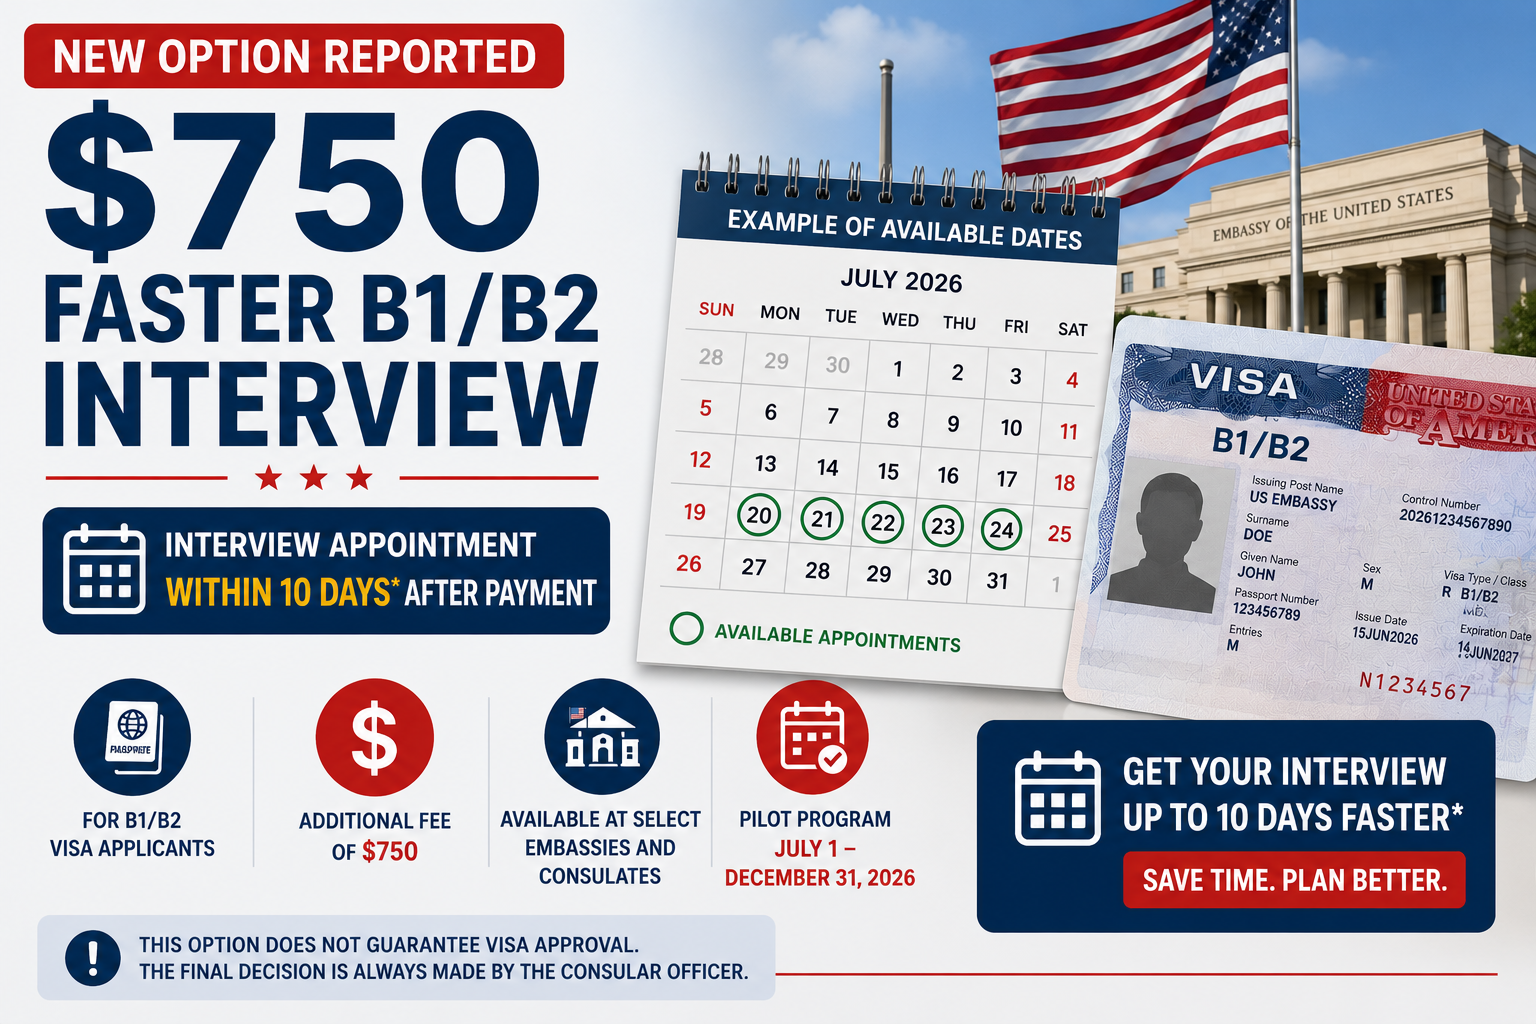
$750 Faster B1/B2 Visa Interview Option: What Applicants Should Know
A new reported $750 option may allow certain B1/B2 visa applicants to get a faster interview appointment, but it does not guarantee visa approval.
-

Visa U: qué es y quién puede solicitarla
La Visa U puede ayudar a ciertas víctimas de crímenes que han sufrido abuso y han colaborado con la policía o autoridades.
-

VAWA: cómo puede ayudar a ciertos inmigrantes maltratados
VAWA puede permitir que ciertos cónyuges, hijos o padres maltratados soliciten ayuda migratoria sin depender del familiar abusivo.
-
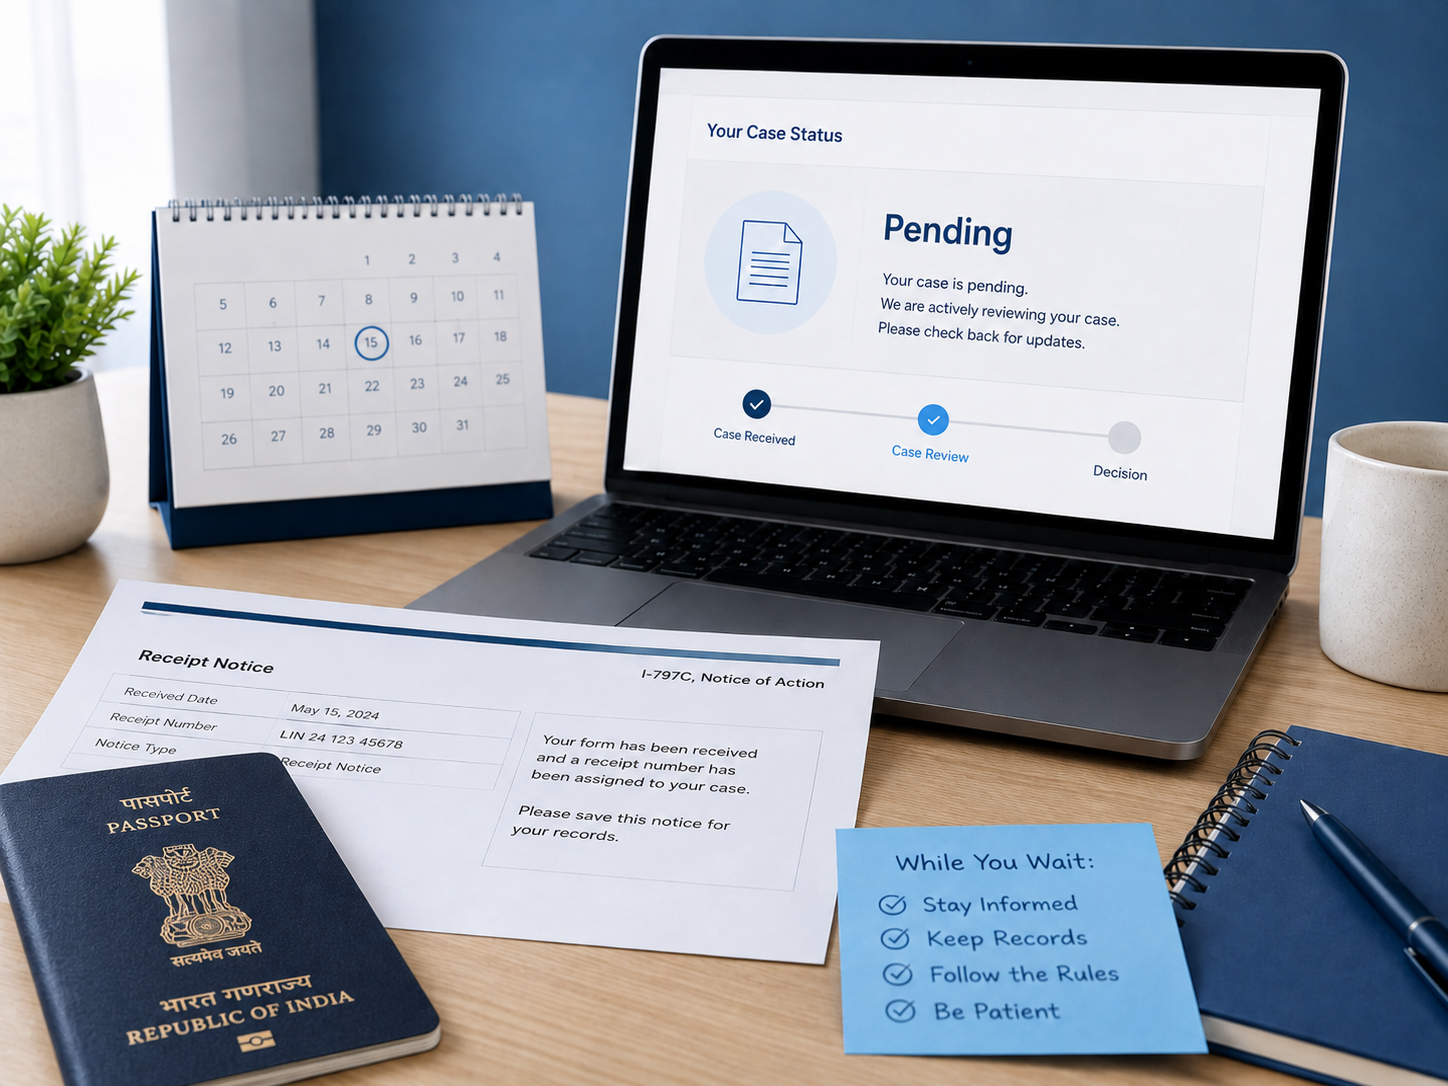
What to Do While Your Change of Status Is Pending
If your change of status case is pending with USCIS, you should understand what you can and cannot do while waiting for a decision.
-
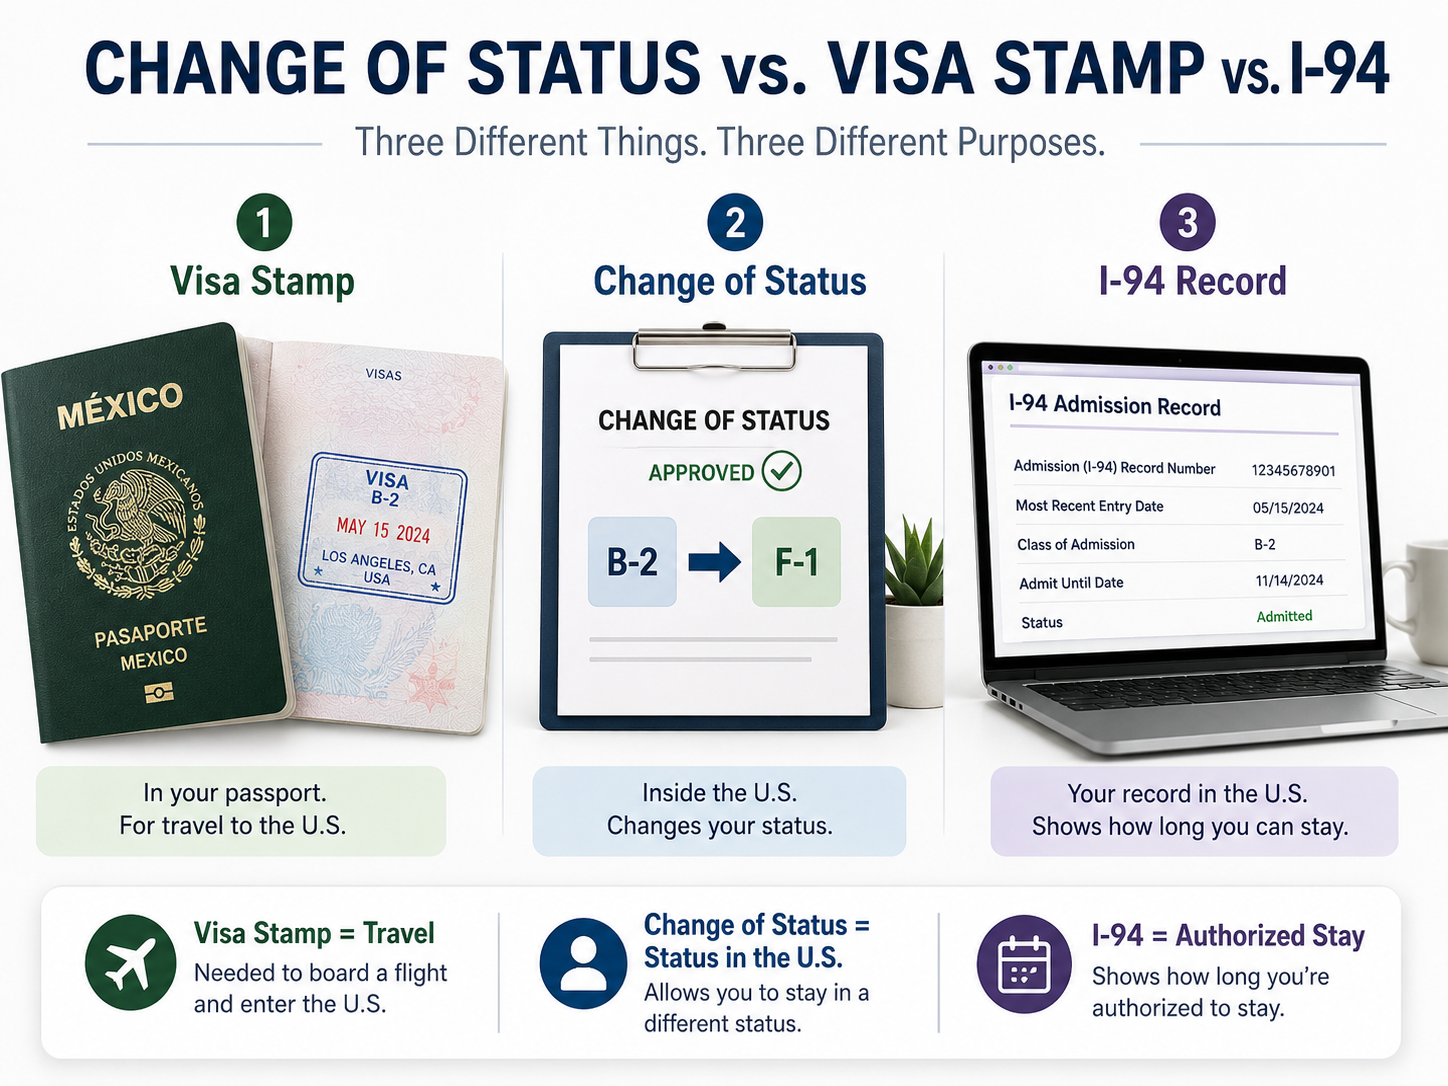
Change of Status vs. Visa Stamp: What Applicants Should Know
Change of status and a visa stamp are not the same thing. This guide explains the difference between your U.S. status, visa stamp, and I-94 in simple terms.
-
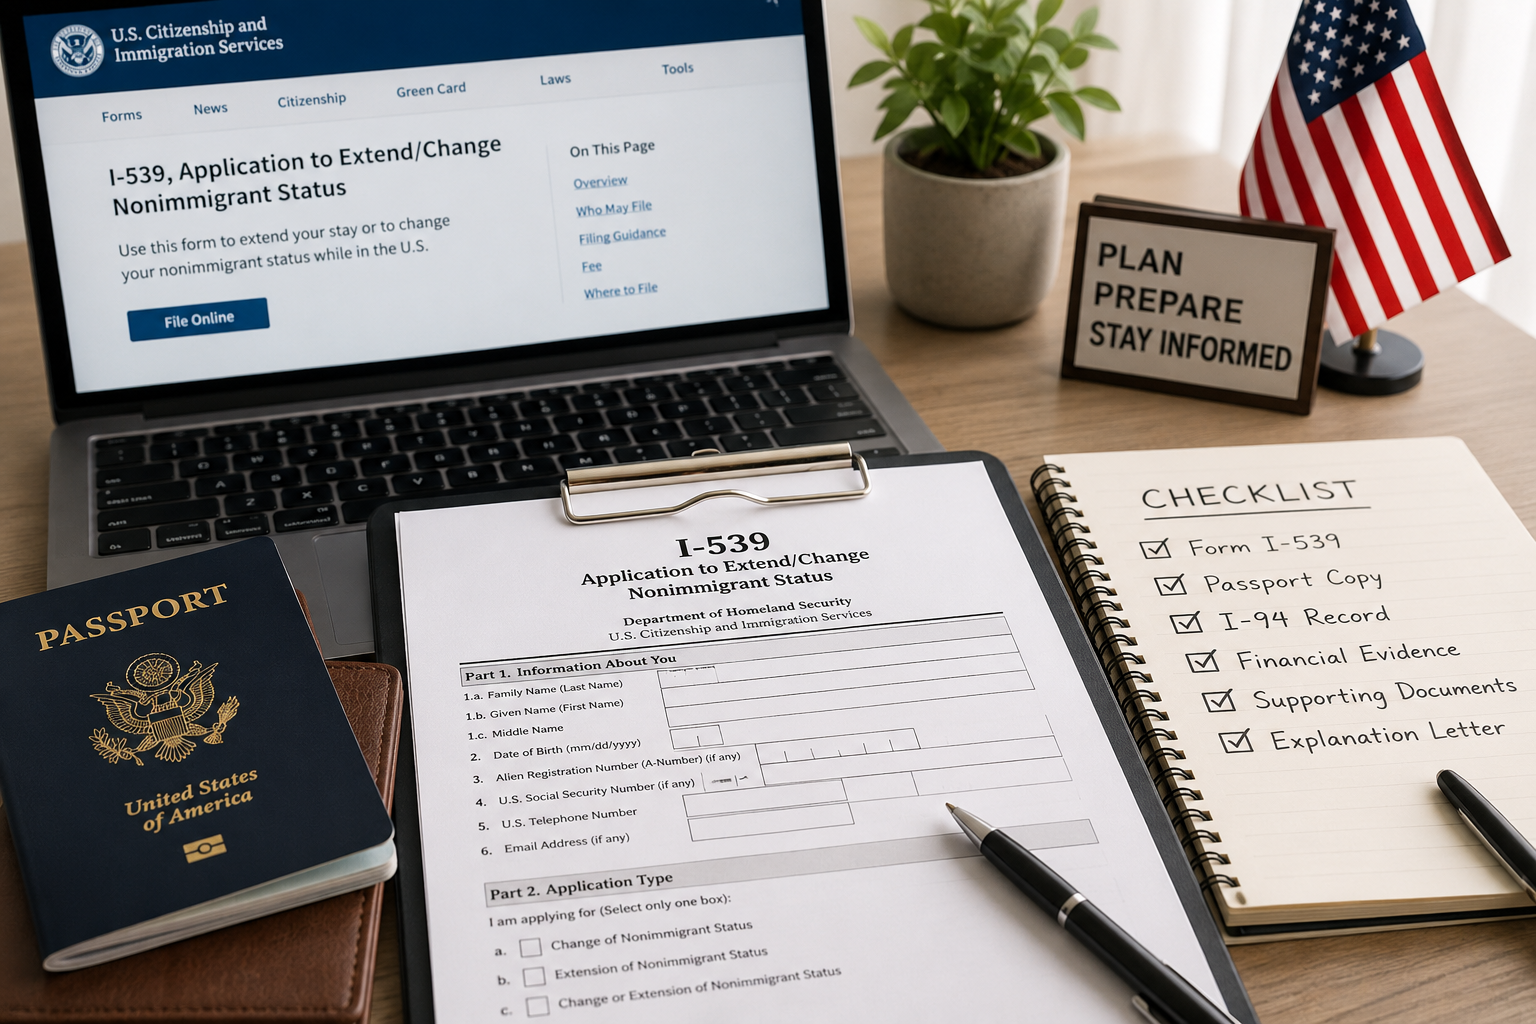
Change of Status in the U.S.: What It Means and When You May Need It
Change of status allows some people already in the United States to request a different nonimmigrant status without leaving the country. Here is a simple guide for beginners.
-
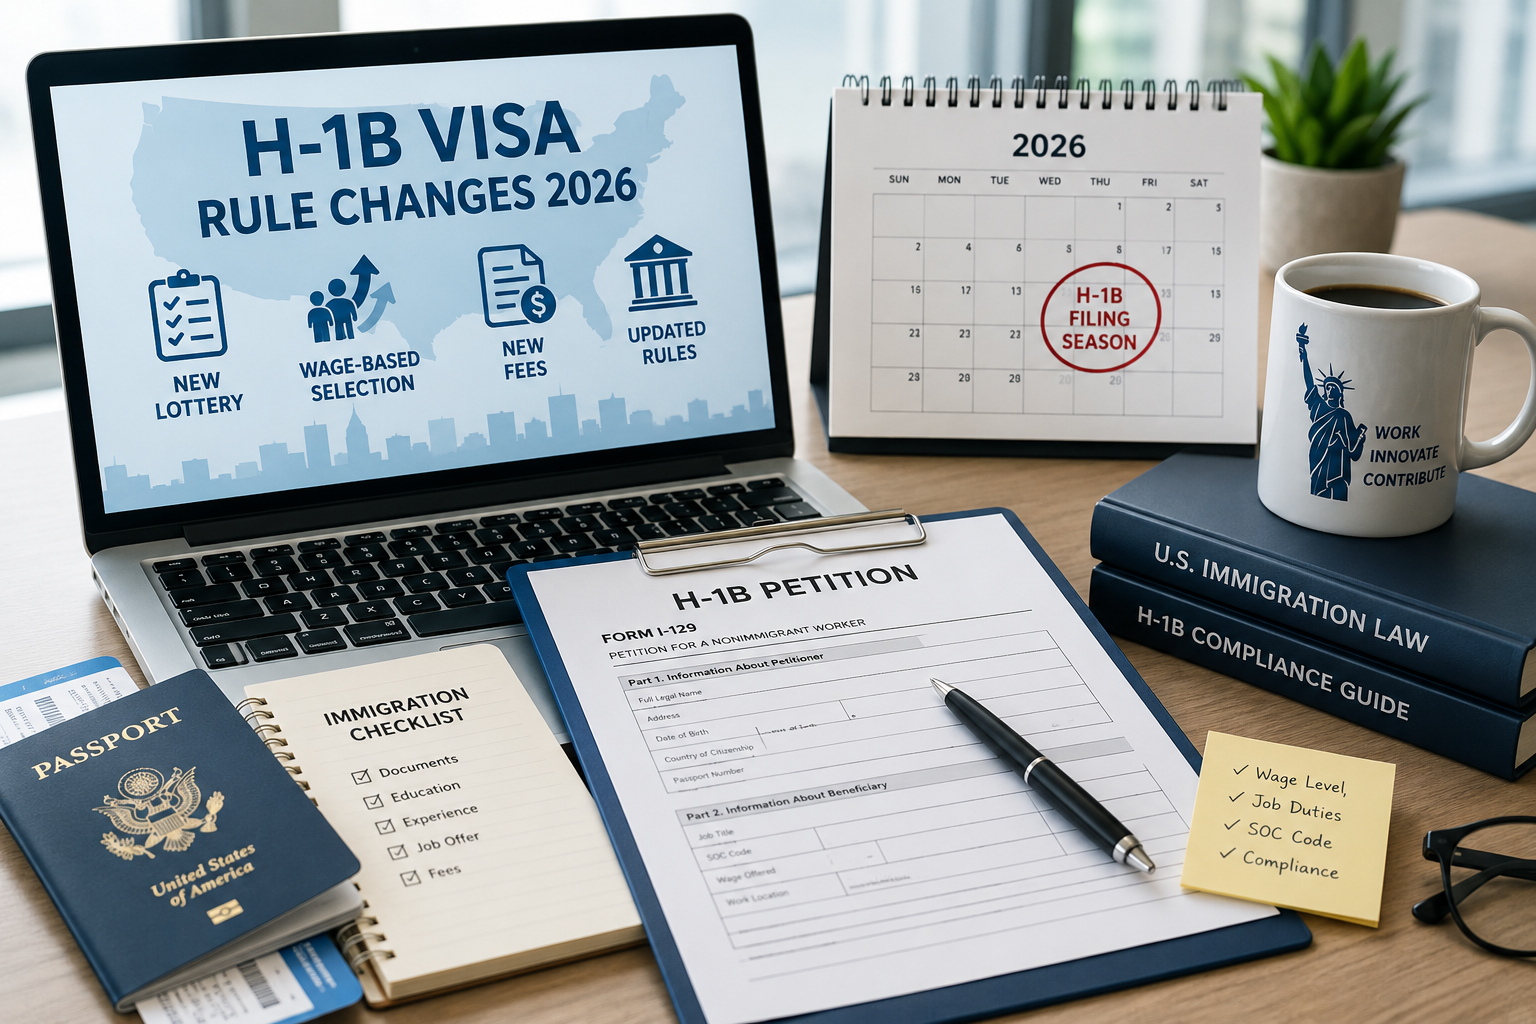
H-1B Visa Rule Changes 2026: New Lottery, Wage Selection, and Fees
The H-1B visa program has changed in several important ways. This guide explains the new selection process, filing rules, employer responsibilities, and what applicants should watch for in 2026.